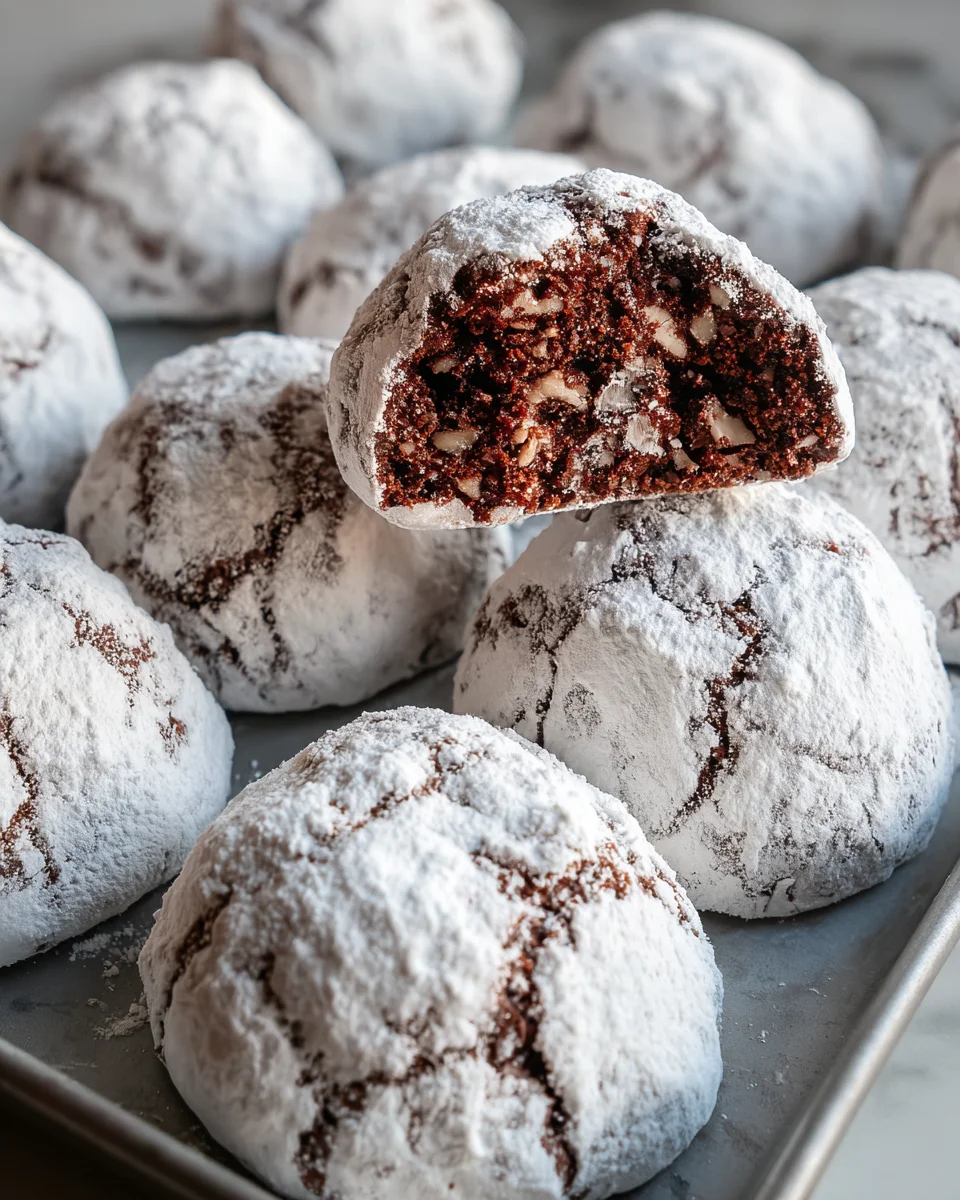
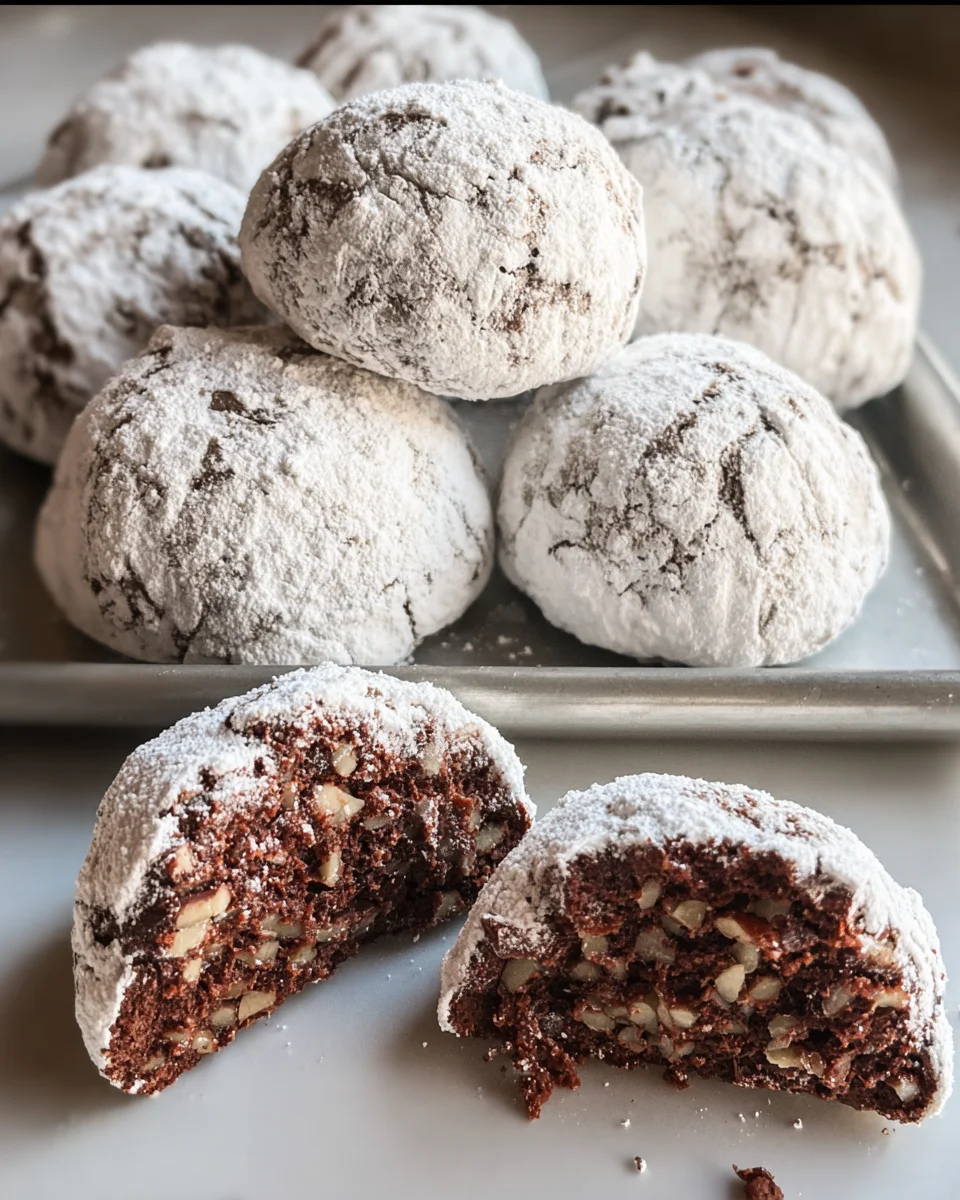
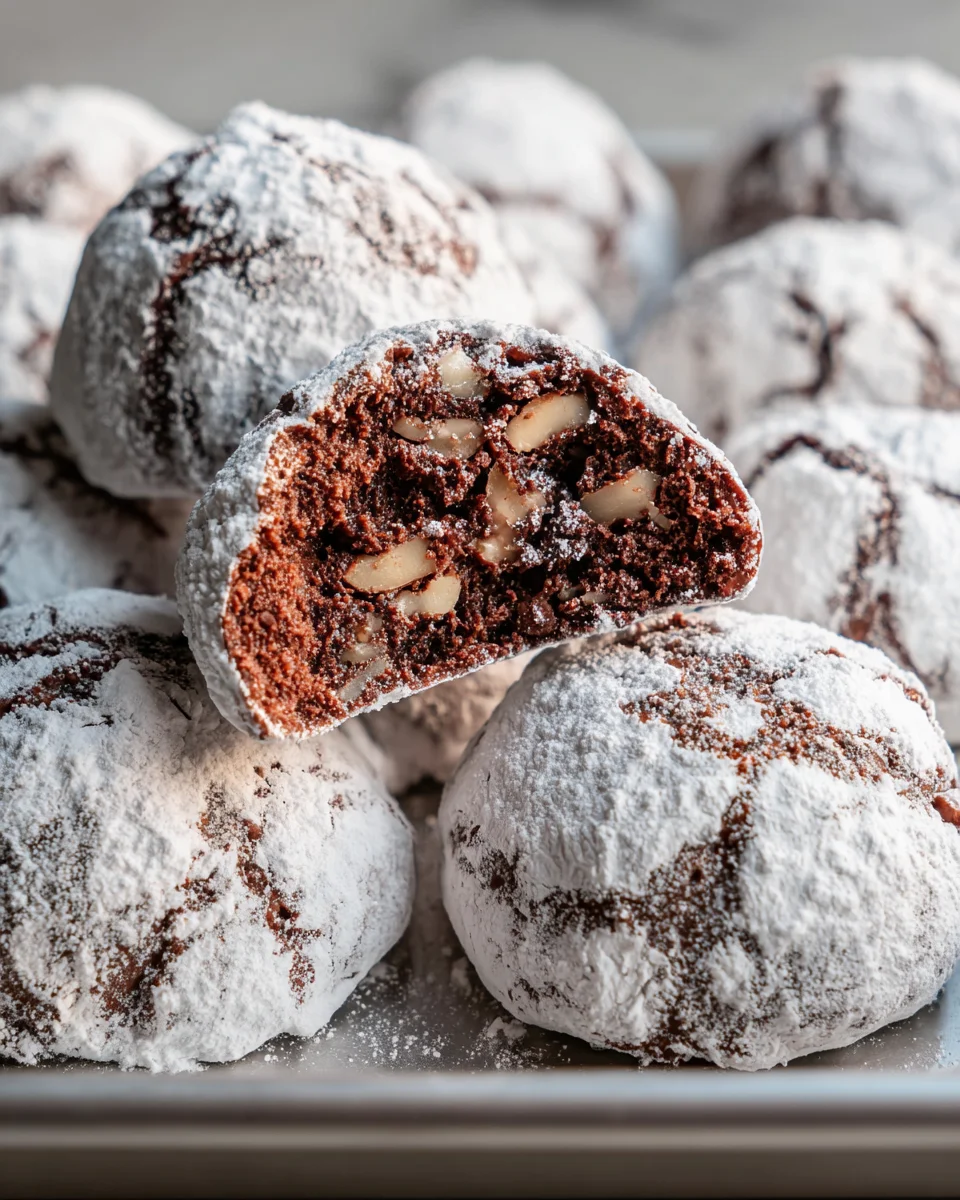
Classic Chocolate Snowball Cookies are a delightful treat that everyone will love. These cookies combine rich chocolate flavor with a tender texture, making them perfect for any occasion, from holiday parties to cozy family gatherings. Their stunning snowy appearance and melt-in-your-mouth quality make them a standout dessert that’s sure to impress your guests.
Jump to:
- Why You’ll Love This Recipe
- Tools and Preparation
- Essential Tools and Equipment
- Importance of Each Tool
- Ingredients
- For the Cookies
- How to Make Classic Chocolate Snowball Cookies
- Step 1: Preheat the Oven
- Step 2: Cream the Butter and Sugar
- Step 3: Mix the Dry Ingredients
- Step 4: Fold in the Nuts and Chocolate Chips
- Step 5: Shape the Cookies
- Step 6: Bake
- Step 7: Roll in Sugar
- How to Serve Classic Chocolate Snowball Cookies
- With a Cup of Coffee
- As a Dessert Platter
- With Hot Cocoa
- On a Festive Cookie Tray
- With Fresh Berries
- How to Perfect Classic Chocolate Snowball Cookies
- Best Side Dishes for Classic Chocolate Snowball Cookies
- Common Mistakes to Avoid
- Storage & Reheating Instructions
- Refrigerator Storage
- Freezing Classic Chocolate Snowball Cookies
- Reheating Classic Chocolate Snowball Cookies
- Frequently Asked Questions
- Can I use different nuts in Classic Chocolate Snowball Cookies?
- How do I make Classic Chocolate Snowball Cookies gluten-free?
- How long do Classic Chocolate Snowball Cookies stay fresh?
- Can I customize the flavors of my Classic Chocolate Snowball Cookies?
- What makes Classic Chocolate Snowball Cookies so special?
- Final Thoughts
- 📖 Recipe Card
Why You’ll Love This Recipe
- Easy to Make: With simple ingredients and straightforward steps, baking these cookies is a breeze.
- Rich Flavor: The combination of cocoa powder and chocolate chips creates a deep, satisfying chocolate experience.
- Versatile Treat: These cookies are ideal for holidays, potlucks, or just an everyday indulgence.
- Customizable: Add your favorite nuts or chocolate chips to personalize each batch.
- Perfect for Gifting: Pack them in cute boxes to share with friends and family during the festive season.
Tools and Preparation
To make Classic Chocolate Snowball Cookies, you’ll need a few essential tools. Having the right equipment ensures your baking process is smooth and enjoyable.
Essential Tools and Equipment
- Stand mixer or hand mixer
- Mixing bowls
- Baking sheets
- Parchment paper or silicone baking mats
- Wire rack
Importance of Each Tool
- Stand mixer or hand mixer: Makes creaming butter and sugar easy, ensuring a light and fluffy texture.
- Mixing bowls: Necessary for combining ingredients without mess.
- Baking sheets: Provides even heat distribution for perfect cookie baking.
- Wire rack: Allows cookies to cool evenly, preventing sogginess.
Ingredients
For the Cookies
- 1 cup (2 sticks) unsalted butter, softened – Try Kerrygold Butter for premium flavor and texture.
- 1/2 cup powdered sugar (plus extra for rolling) – Domino Confectioners’ Sugar is my go-to for smooth coatings.
- 1 teaspoon vanilla extract
- 1 3/4 cups all-purpose flour – King Arthur Flour delivers consistent, high-quality results.
- 1/4 cup unsweetened cocoa powder – Ghirardelli Premium Cocoa Powder is perfect for rich chocolate notes.
- 1/2 teaspoon salt
- 1 cup finely chopped pecans or walnuts (optional)
- 1/2 cup mini chocolate chips (optional)
How to Make Classic Chocolate Snowball Cookies
Step 1: Preheat the Oven
Set your oven to 350°F (175°C). Line two baking sheets with parchment paper or silicone baking mats for easy cleanup.
Step 2: Cream the Butter and Sugar
In a large mixing bowl, use a stand mixer or hand mixer to beat the softened butter and powdered sugar until light and fluffy. Add the vanilla extract and mix until combined.
Step 3: Mix the Dry Ingredients
In a separate bowl, whisk together the flour, cocoa powder, and salt. Gradually add the dry ingredients to the butter mixture, mixing just until combined.
Step 4: Fold in the Nuts and Chocolate Chips
Stir in the finely chopped nuts and mini chocolate chips (if using) until evenly distributed throughout the dough.
Step 5: Shape the Cookies
Scoop out about a tablespoon of dough and roll it into a ball. Place the dough balls onto the prepared baking sheets, spacing them about an inch apart.
Step 6: Bake
Bake the cookies in the preheated oven for 12-15 minutes, or until the edges are set and the bottoms are lightly browned. Be careful not to overbake; these cookies should remain soft and tender inside.
Step 7: Roll in Sugar
Allow the cookies to cool slightly on the baking sheet for about 5 minutes. While still warm, roll each cookie in a generous amount of powdered sugar, ensuring they’re fully coated. Place the cookies on a wire rack to cool completely, then give them one more roll in powdered sugar for that classic snowball look.
How to Serve Classic Chocolate Snowball Cookies
Classic Chocolate Snowball Cookies are a delightful treat that can be enjoyed in various ways. Whether you’re serving them at a festive gathering or just indulging on your own, these cookies can complement many occasions and pair well with different beverages.
With a Cup of Coffee
- A rich cup of coffee enhances the chocolate flavors, making it an ideal pairing for morning or afternoon treats.
As a Dessert Platter
- Arrange the cookies on a dessert platter alongside other sweets like brownies and fudge. This adds variety and visual appeal to your dessert table.
With Hot Cocoa
- Serve these cookies with hot cocoa for a cozy winter treat. The warmth of the cocoa pairs perfectly with the soft texture of the cookies.
On a Festive Cookie Tray
- Include Classic Chocolate Snowball Cookies in a holiday cookie tray. They add a classic touch and look beautiful dusted with powdered sugar.
With Fresh Berries
- Accompany the cookies with fresh berries for a pop of color and freshness. Strawberries or raspberries work especially well.
How to Perfect Classic Chocolate Snowball Cookies
To ensure your Classic Chocolate Snowball Cookies turn out perfectly every time, follow these helpful tips.
-
Use Room Temperature Butter: This helps achieve a creamy texture when creaming the butter and sugar together, resulting in light cookies.
-
Don’t Overmix: When combining wet and dry ingredients, mix just until combined to keep the cookies tender and soft.
-
Chill the Dough: For better shaping, chill the dough for about 30 minutes before rolling into balls. This prevents spreading during baking.
-
Rotate Baking Sheets: Halfway through baking, rotate your sheets for even cooking, ensuring all cookies bake uniformly.
-
Check for Doneness Early: Start checking your cookies at 12 minutes to avoid overbaking; you want them soft in the center.
Best Side Dishes for Classic Chocolate Snowball Cookies
When serving Classic Chocolate Snowball Cookies, pairing them with some delicious side dishes can elevate your dessert experience. Here are some great options:
- Vanilla Ice Cream: The creamy vanilla flavor complements the chocolate nicely, creating a delightful contrast in textures.
- Cheesecake Bites: These bite-sized treats add richness that pairs well with the lightness of the snowball cookies.
- Fruit Salad: A refreshing fruit salad balances the sweetness of the cookies while providing a healthy option.
- Chocolate Fondue: Dip pieces of snowball cookies into warm chocolate fondue for an indulgent experience.
- Nutty Trail Mix: A crunchy trail mix can provide texture and nutty flavors that echo those found in the cookies themselves.
- Coffee Cake: The subtle sweetness of coffee cake pairs beautifully with chocolate, making it an excellent brunch option alongside these cookies.
- Caramel Sauce: Drizzling caramel sauce over each cookie adds an extra layer of sweetness, enhancing their already delightful taste.
- Milkshake: A rich chocolate milkshake makes for a fun beverage to enjoy alongside these festive treats.
Common Mistakes to Avoid
It’s easy to make errors when baking Classic Chocolate Snowball Cookies. Here are common mistakes and how to avoid them.
- Using Cold Butter: Starting with cold butter can result in dense cookies. Always use softened butter for a light, fluffy texture.
- Overmixing the Dough: Mixing too much can lead to tough cookies. Mix just until the ingredients are combined for the best results.
- Not Preheating the Oven: Baking in an unheated oven affects cookie texture. Always preheat your oven to ensure even baking.
- Skipping the Rolling in Powdered Sugar Step: Forgetting to roll in powdered sugar leaves cookies without their signature look. Roll them while warm and again after cooling for that classic snowball appearance.
- Not Measuring Ingredients Accurately: Inaccurate measurements can ruin your cookies. Use measuring cups and spoons for precise ingredient amounts.
Storage & Reheating Instructions
Refrigerator Storage
- Store cookies in an airtight container to keep them fresh.
- They can last up to one week in the refrigerator.
Freezing Classic Chocolate Snowball Cookies
- Place cookies in a single layer on a baking sheet and freeze until solid.
- Transfer them to a freezer-safe container or bag; they will keep well for up to three months.
Reheating Classic Chocolate Snowball Cookies
- Oven: Preheat to 350°F (175°C) and heat for about 5-7 minutes until warm.
- Microwave: Heat one cookie at a time on a microwave-safe plate for about 10-15 seconds.
- Stovetop: Place a pan over low heat, add cookies, and cover for 1-2 minutes until warmed through.
Frequently Asked Questions
If you have questions about Classic Chocolate Snowball Cookies, you’re not alone! Here are some frequently asked questions.
Can I use different nuts in Classic Chocolate Snowball Cookies?
Yes, you can substitute walnuts with pecans or even omit nuts altogether if preferred.
How do I make Classic Chocolate Snowball Cookies gluten-free?
Use gluten-free all-purpose flour as a substitute for regular flour. The texture will still be delightful!
How long do Classic Chocolate Snowball Cookies stay fresh?
When stored properly, these cookies remain fresh for about one week at room temperature or up to three months in the freezer.
Can I customize the flavors of my Classic Chocolate Snowball Cookies?
Definitely! You can add different extracts like almond or orange zest for unique flavor variations.
What makes Classic Chocolate Snowball Cookies so special?
Their rich chocolate flavor combined with the snowy powdered sugar coating creates a comforting treat perfect for any occasion.
Final Thoughts
Classic Chocolate Snowball Cookies are not only delicious but also versatile. You can easily customize them by adding different nuts or flavors. They make perfect treats for holidays or cozy gatherings. Try making this delightful recipe today!
Did You Enjoy Making This Recipe? Please rate this recipe with ⭐⭐⭐⭐⭐ or leave a comment.
📖 Recipe Card
Print
Classic Chocolate Snowball Cookies
- Total Time: 30 minutes
- Yield: Approximately 24 cookies 1x
Description
Classic Chocolate Snowball Cookies are the ultimate indulgence for chocolate lovers, combining rich cocoa flavor with a melt-in-your-mouth texture. These delightful treats are perfect for any occasion, from holiday parties to cozy get-togethers. With their stunning snowy appearance dusted in powdered sugar, these cookies are sure to impress your guests and become a favorite in your dessert repertoire. Easy to make and customizable with nuts or chocolate chips, they offer endless possibilities for personalization. Whether enjoyed alongside a warm cup of coffee or gifted in festive packaging, Classic Chocolate Snowball Cookies are a charming addition to any dessert table.
Ingredients
- 1 cup unsalted butter, softened
- 1/2 cup powdered sugar (plus extra for rolling)
- 1 teaspoon vanilla extract
- 1 3/4 cups all-purpose flour
- 1/4 cup unsweetened cocoa powder
- 1/2 teaspoon salt
- 1 cup chopped pecans or walnuts (optional)
- 1/2 cup mini chocolate chips (optional)
Instructions
- Preheat oven to 350°F (175°C). Line two baking sheets with parchment paper.
- In a mixing bowl, cream together the softened butter and powdered sugar until light and fluffy. Mix in vanilla extract.
- In another bowl, whisk together flour, cocoa powder, and salt. Gradually add to the butter mixture until just combined.
- Fold in nuts and chocolate chips if desired.
- Roll tablespoon-sized dough into balls and place on prepared baking sheets an inch apart.
- Bake for 12-15 minutes or until edges are set. Let cool slightly before rolling in powdered sugar.
- Prep Time: 15 minutes
- Cook Time: 15 minutes
- Category: Dessert
- Method: Baking
- Cuisine: American
Nutrition
- Serving Size: 1 cookie (30g)
- Calories: 120
- Sugar: 6g
- Sodium: 35mg
- Fat: 7g
- Saturated Fat: 4g
- Unsaturated Fat: 2g
- Trans Fat: 0g
- Carbohydrates: 13g
- Fiber: 0g
- Protein: 1g
- Cholesterol: 20mg
