With their delightful burst of lemon flavor and creamy texture, Mini Lemon Cheesecake Tarts are the perfect bite-sized treats for any occasion. These tarts are not only easy to make but also require no baking, making them a convenient choice for spring and summer celebrations. Their versatility allows them to be garnished with your favorite fruits, adding a personal touch to each tart.

Jump to:
- Why You’ll Love This Recipe
- Tools and Preparation
- Essential Tools and Equipment
- Importance of Each Tool
- Ingredients
- For the Crust:
- For the Filling:
- For Garnish:
- How to Make Mini Lemon Cheesecake Tarts
- Step 1: Prepare the Crust
- Step 2: Make the Filling
- Step 3: Assemble the Tarts
- Step 4: Chill and Serve
- How to Serve Mini Lemon Cheesecake Tarts
- Individual Serving Suggestions
- How to Perfect Mini Lemon Cheesecake Tarts
- Best Side Dishes for Mini Lemon Cheesecake Tarts
- Common Mistakes to Avoid
- Storage & Reheating Instructions
- Refrigerator Storage
- Freezing Mini Lemon Cheesecake Tarts
- Reheating Mini Lemon Cheesecake Tarts
- Frequently Asked Questions
- Can I use store-bought crusts?
- How can I customize Mini Lemon Cheesecake Tarts?
- What fruits are best for topping?
- Can I make these tarts ahead of time?
- Final Thoughts
- 📖 Recipe Card
Why You’ll Love This Recipe
- Quick Preparation: With just 20 minutes of prep time, you can whip up these delightful desserts in no time.
- No Baking Required: Skip the oven! These mini tarts set in the fridge, making them a hassle-free treat.
- Perfect for Any Occasion: Whether it’s a party, picnic, or family gathering, these tarts are sure to impress guests.
- Customizable Toppings: Top with fresh fruit or preserves for an extra burst of flavor and color.
- Light and Refreshing Flavor: The tangy lemon filling is refreshing, perfect for warm weather.
Tools and Preparation
Before diving into this delicious recipe, gather your tools. Having everything ready will streamline your cooking process.
Grab This Chef Knife Now - Almost Gone!
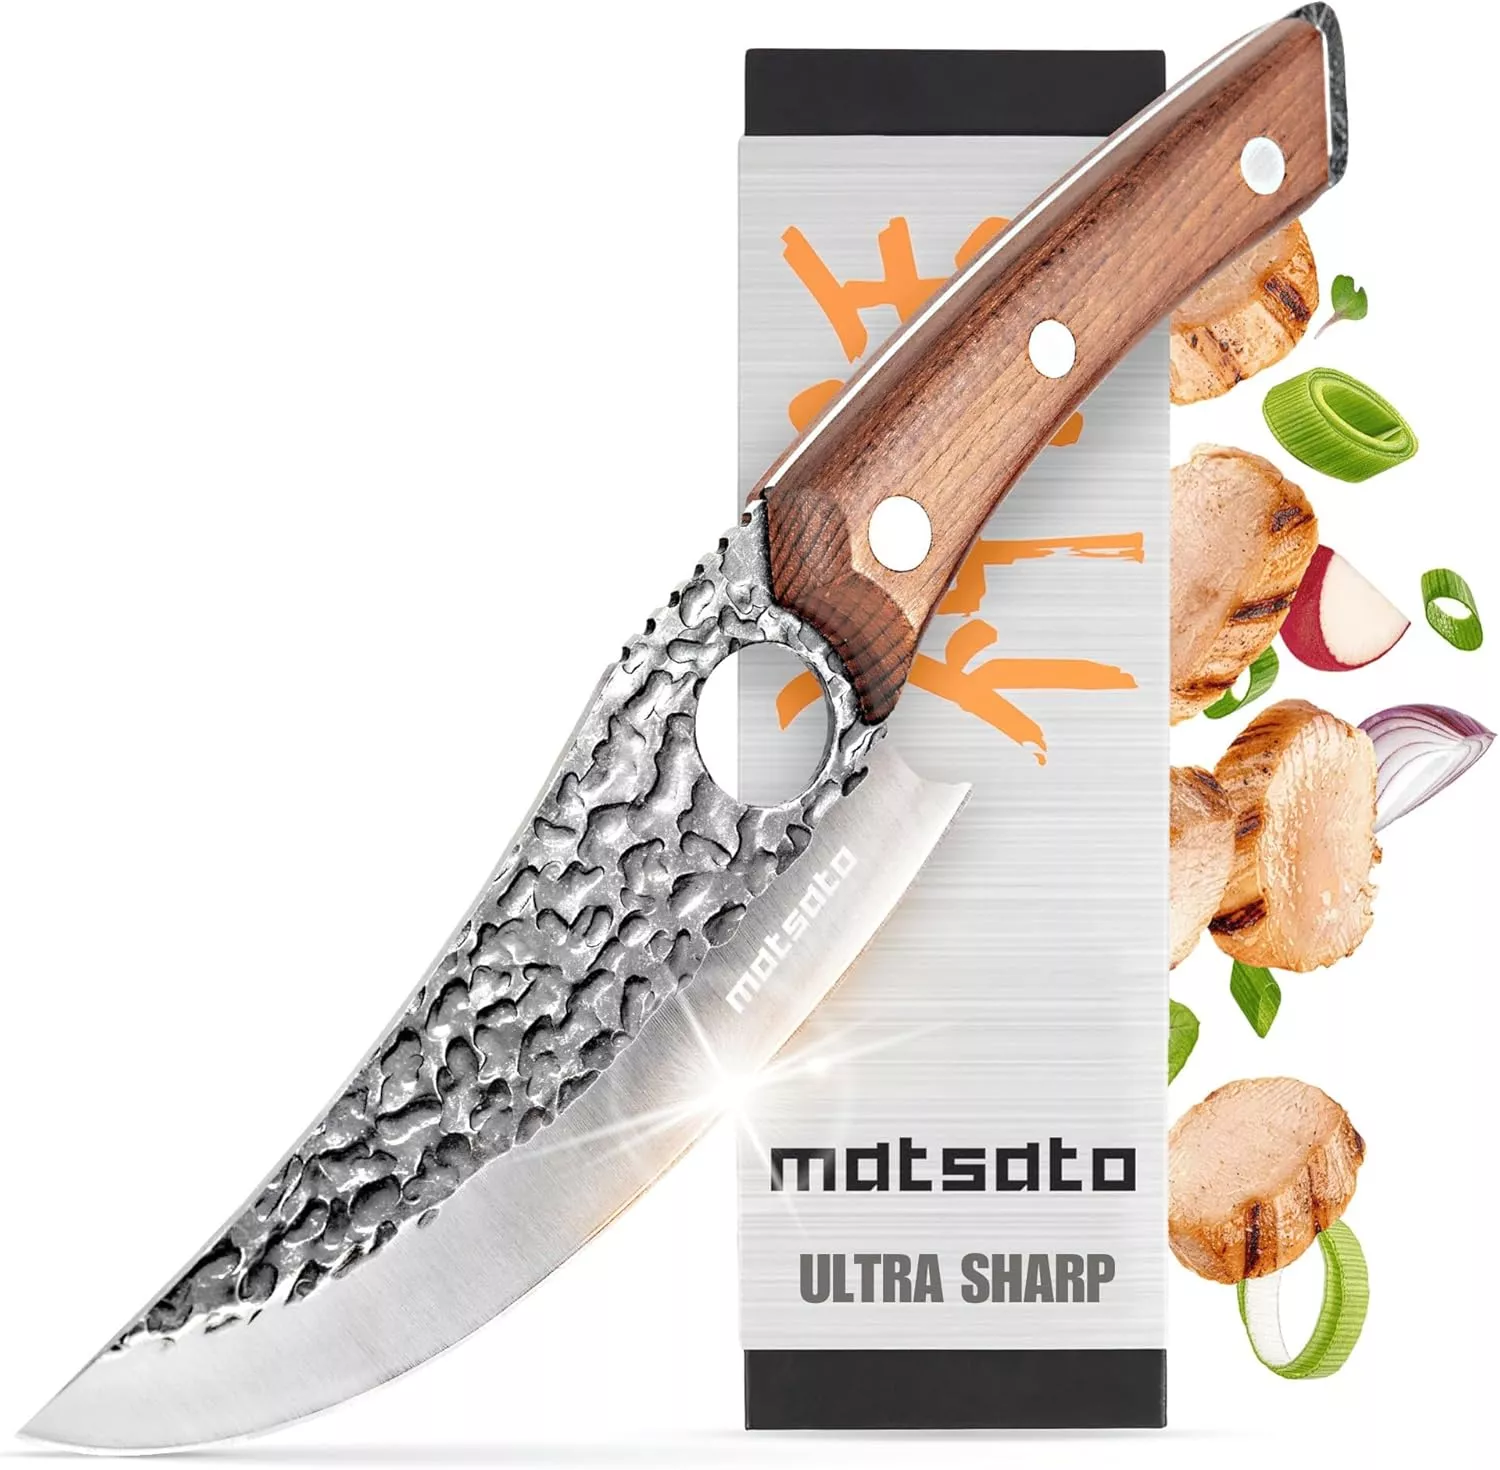
- Stays Razor-Sharp: Ice-hardened blade keeps its edge longer than ordinary knives
- Superior Grip Control: Unique finger hole design gives you perfect balance and safety
- Built to Last a Lifetime: Premium stainless steel blade with elegant beech wood handle
Customer Reviews ★★★★★
Essential Tools and Equipment
Importance of Each Tool
- Mixing bowl: A good-sized bowl allows for easy mixing of ingredients without spilling.
- Electric mixer: Makes whipping the cream cheese smooth and fluffy, ensuring a creamy filling.
- Mini muffin tin: Perfectly shapes the tarts and holds them together as they set.
Ingredients
For the Crust:
- 1 cup graham cracker crumbs (5 ounces, or 10 crackers crushed)
- 2 tablespoons granulated sugar
- 6 tablespoons unsalted butter (melted)
For the Filling:
- 1 8-oz package cream cheese (softened)
- 1/2 cup sugar
- 2 teaspoons lemon zest (divided)
- 2 tablespoons lemon juice (freshly squeezed)
- 1/3 cup heavy whipping cream
- 1/4 teaspoon vanilla extract
For Garnish:
- Fresh fruit or fruit preserves
How to Make Mini Lemon Cheesecake Tarts
Step 1: Prepare the Crust
- In a mixing bowl, combine graham cracker crumbs, granulated sugar, and melted butter. Mix until well combined.
- Press the mixture firmly into each cup of a mini muffin tin to form a crust. Ensure they are packed tightly.
Step 2: Make the Filling
- In another bowl, beat the softened cream cheese, sugar, and half of the lemon zest using an electric mixer until smooth.
- Add the remaining lemon zest, lemon juice, heavy whipping cream, and vanilla extract. Beat until light and fluffy.
Step 3: Assemble the Tarts
- Spoon or pipe the cheesecake filling into each crust in the mini muffin tin.
- Smooth out the tops with a rubber spatula.
Step 4: Chill and Serve
- Cover the mini tarts with plastic wrap and refrigerate for at least 2 hours to set.
- Before serving, garnish each tart with fresh fruit or fruit preserves as desired.
Enjoy these delightful Mini Lemon Cheesecake Tarts at your next gathering!
How to Serve Mini Lemon Cheesecake Tarts
These delightful Mini Lemon Cheesecake Tarts are versatile and can be served in various creative ways. Whether it’s a summer barbecue or a fancy dinner party, these tarts will surely impress your guests.
Individual Serving Suggestions
- On a Dessert Platter: Arrange the tarts on a colorful platter for an eye-catching presentation.
- With Fresh Berries: Serve alongside strawberries, blueberries, or raspberries for a burst of color and flavor.
- Dollops of Whipped Cream: Add a generous dollop of whipped cream on top of each tart for extra creaminess.
- Garnished with Mint Leaves: Sprinkle fresh mint leaves on top for a refreshing touch and beautiful contrast.
- Accompanied by Fruit Preserves: Serve with fruit preserves on the side to enhance the lemon flavor and add sweetness.

How to Perfect Mini Lemon Cheesecake Tarts
To ensure your Mini Lemon Cheesecake Tarts turn out perfectly every time, follow these helpful tips.
- Use Room Temperature Ingredients: Make sure your cream cheese is softened to room temperature for a smooth filling.
- Fresh Lemon Juice Matters: Always use freshly squeezed lemon juice for the best flavor; bottled juice can be too acidic.
- Chill Before Serving: Allow the tarts to chill in the fridge for at least two hours to set properly and enhance the flavors.
- Experiment with Flavors: Feel free to mix in other citrus flavors like lime or orange zest into your cheesecake filling for variety.
- Pre-crush Graham Crackers: For ease, crush your graham crackers using a food processor before mixing with sugar and butter.
- Adjust Sweetness: Taste your filling before putting it into the crust. Adjust sugar according to your preference.
Best Side Dishes for Mini Lemon Cheesecake Tarts
Pairing side dishes with Mini Lemon Cheesecake Tarts can elevate your dessert experience even further. Here are some great options:
- Fresh Fruit Salad: A light mix of seasonal fruits complements the tangy tarts beautifully.
- Pistachio Crumble: This crunchy topping adds texture and a nutty flavor that pairs well with lemon.
- Chocolate-Dipped Strawberries: The richness of chocolate balances the tartness, making it a decadent choice.
- Vanilla Ice Cream: A scoop of creamy vanilla ice cream provides a classic pairing that enhances every bite of cheesecake.
- Coconut Macaroons: These chewy treats add a tropical twist that harmonizes with lemon’s brightness.
- Lemon Sorbet: For those who love citrus, lemon sorbet offers a refreshing palate cleanser after enjoying the tarts.
Common Mistakes to Avoid
When making Mini Lemon Cheesecake Tarts, certain pitfalls can affect the final result. Here are some common mistakes to watch out for:
- Ignoring ingredient temperature: Using cold cream cheese can lead to a lumpy texture. Always ensure your cream cheese is at room temperature for a smooth filling.
- Overmixing the batter: Overmixing can introduce too much air into the filling, causing cracks. Mix just until combined for the best results.
- Skipping the chilling time: These tarts need time to set in the fridge. Don’t rush; allow at least 2 hours for optimal firmness.
- Not adjusting sweetness: Taste your filling before adding it to the crust. Adjust sugar levels if you prefer a sweeter or tangier tart.
- Neglecting garnishes: Simple garnishes like fresh fruit can elevate your tarts. Don’t skip this step; it adds flavor and visual appeal.

Storage & Reheating Instructions
Refrigerator Storage
- Store Mini Lemon Cheesecake Tarts in an airtight container.
- They will last up to 5 days in the refrigerator.
Freezing Mini Lemon Cheesecake Tarts
- Wrap each tart individually in plastic wrap and then place them in a freezer-safe container.
- They can be frozen for up to 2 months.
Reheating Mini Lemon Cheesecake Tarts
- Oven: Preheat to 350°F (175°C) and warm tarts for about 10 minutes.
- Microwave: Heat on medium power for about 15-20 seconds, checking frequently.
- Stovetop: Place tarts in a skillet over low heat, cover, and warm for about 5 minutes.
Frequently Asked Questions
Here are some common questions about Mini Lemon Cheesecake Tarts:
Can I use store-bought crusts?
Yes, store-bought graham cracker crusts work well if you’re short on time.
How can I customize Mini Lemon Cheesecake Tarts?
Feel free to add different flavors like berries or chocolate into the filling or topping.
What fruits are best for topping?
Fresh berries, kiwi, or even a dollop of lemon curd are delightful choices.
Can I make these tarts ahead of time?
Absolutely! They keep well in the fridge, making them perfect for parties.
Final Thoughts
Mini Lemon Cheesecake Tarts are not only delicious but also incredibly versatile. You can customize them with various toppings or flavors to suit any occasion. Give this easy recipe a try and enjoy these delightful bites at your next gathering!
Did You Enjoy Making This Recipe? Please rate this recipe with ⭐⭐⭐⭐⭐ or leave a comment.
📖 Recipe Card
Print
Mini Lemon Cheesecake Tarts
- Total Time: 0 hours
- Yield: Makes approximately 12 tarts 1x
Description
Mini Lemon Cheesecake Tarts are a delectable and refreshing dessert that perfectly combines a creamy lemon filling with a crunchy graham cracker crust. These no-bake delights are incredibly easy to prepare, making them an ideal treat for spring and summer gatherings. With just 20 minutes of prep time, you can create bite-sized wonders that your guests will love. Customize them with fresh fruits or preserves for a personal touch that adds vibrant color and taste. Whether served at a casual picnic or an elegant dinner party, these charming tarts are sure to impress.
Ingredients
- 1 cup graham cracker crumbs
- 2 tablespoons granulated sugar
- 6 tablespoons unsalted butter (melted)
- 1 package (8 oz) cream cheese (softened)
- 1/2 cup sugar
- 2 teaspoons lemon zest (divided)
- 2 tablespoons freshly squeezed lemon juice
- 1/3 cup heavy whipping cream
- 1/4 teaspoon vanilla extract
- Fresh fruit or fruit preserves for garnish
Instructions
- Prepare the crust by mixing graham cracker crumbs, sugar, and melted butter in a bowl. Press firmly into mini muffin tin cups.
- For the filling, beat cream cheese and sugar until smooth, then add half the lemon zest, lemon juice, heavy cream, and vanilla extract; mix until fluffy.
- Spoon or pipe the cheesecake filling into each crust and smooth the tops.
- Cover with plastic wrap and refrigerate for at least two hours to set before serving. Garnish with fresh fruit or preserves.
- Prep Time: 20 minutes
- Cook Time: None
- Category: Dessert
- Method: No-bake
- Cuisine: American
Nutrition
- Serving Size: 1 tart (30g)
- Calories: 120
- Sugar: 8g
- Sodium: 50mg
- Fat: 9g
- Saturated Fat: 5g
- Unsaturated Fat: 3g
- Trans Fat: 0g
- Carbohydrates: 10g
- Fiber: <1g
- Protein: 2g
- Cholesterol: 25mg