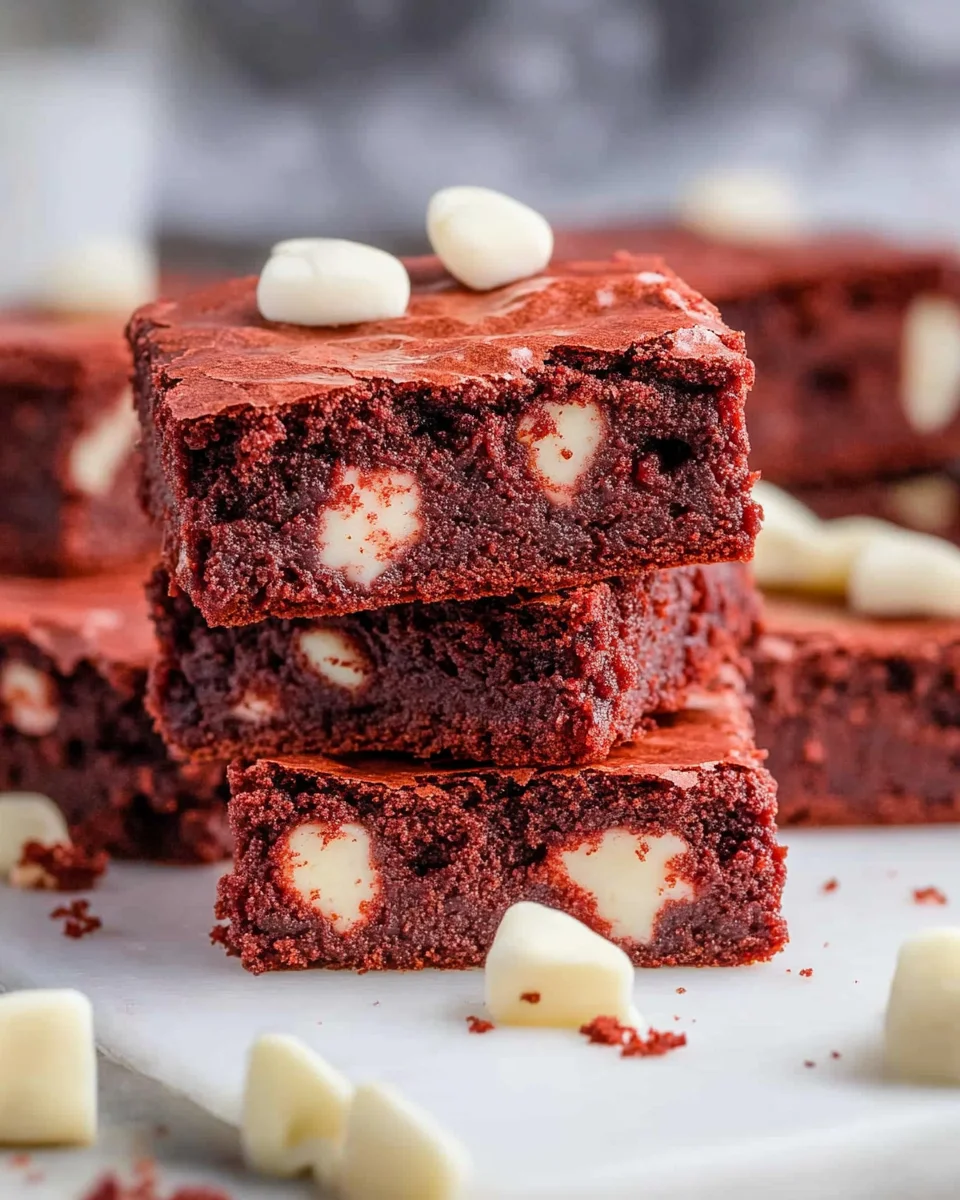
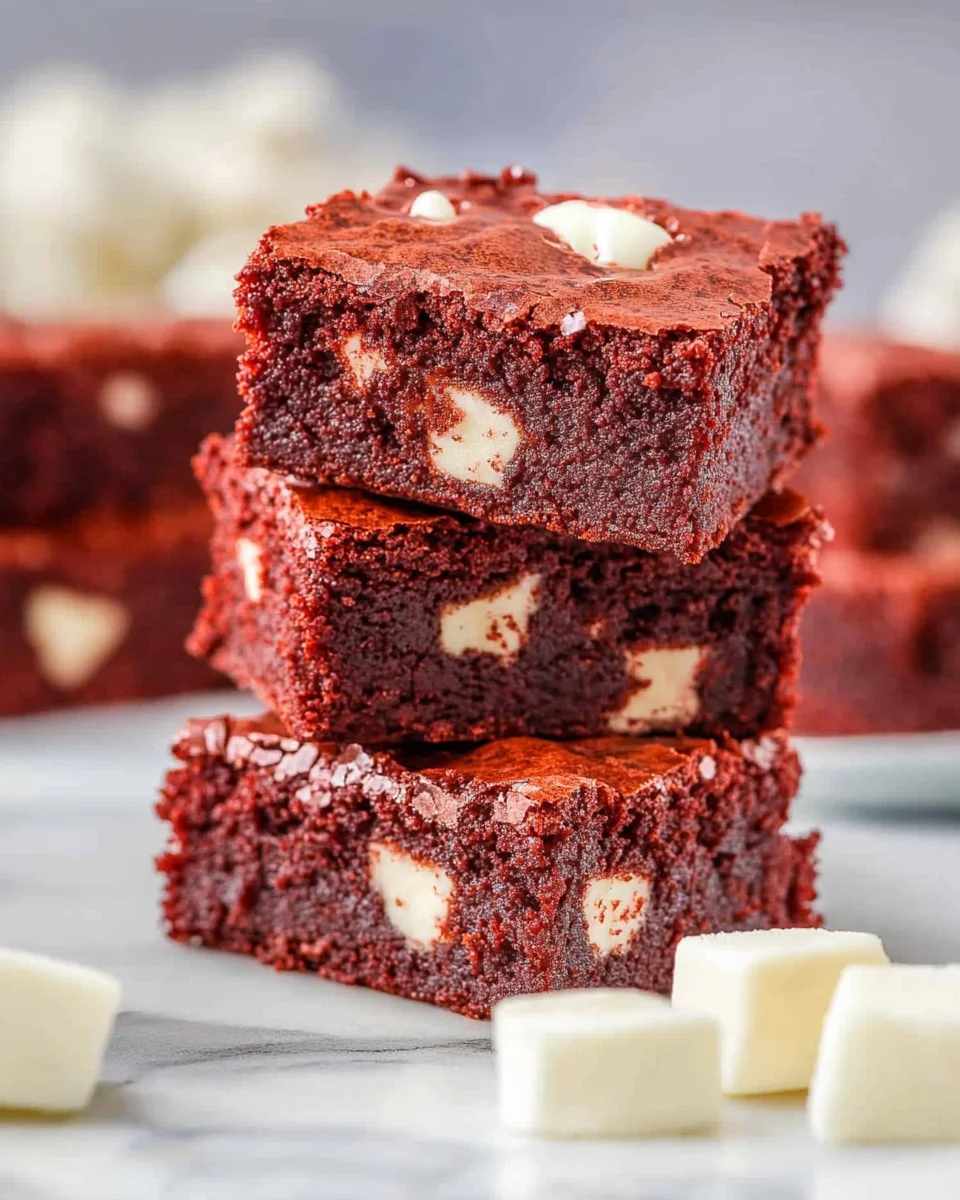
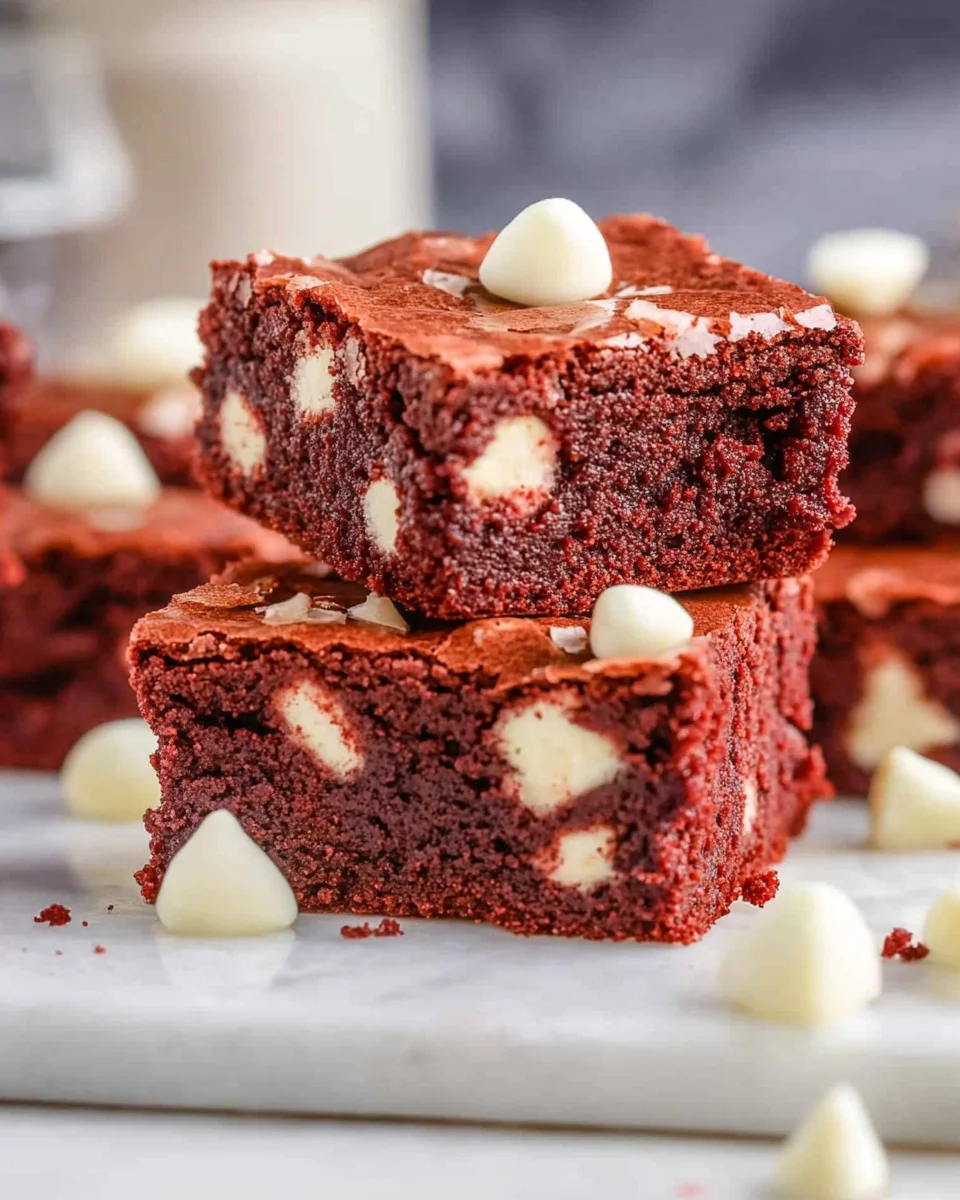
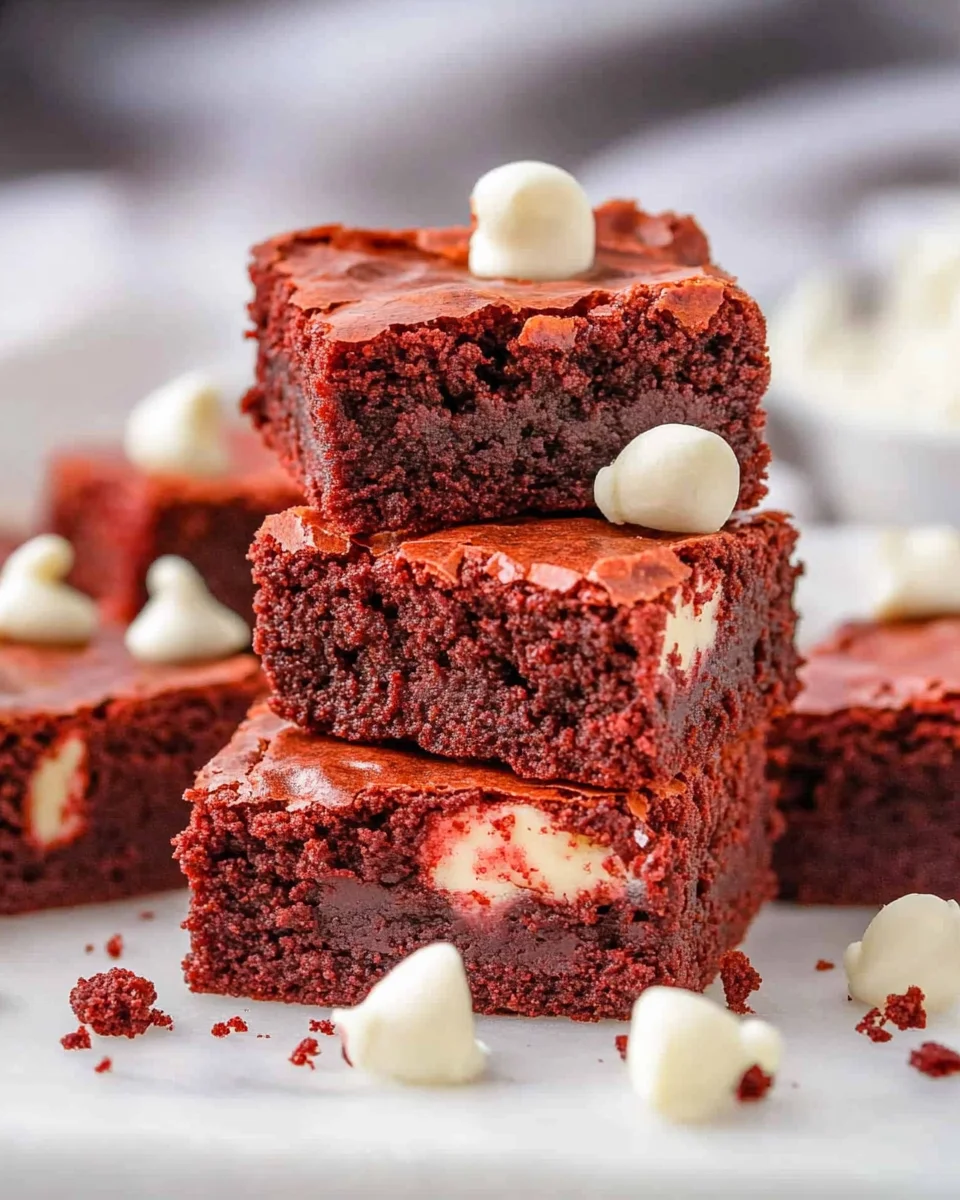
These Red Velvet Brownies are a delicious twist on the classic brownie. With their rich cocoa flavor and vibrant red color, they are ideal for holidays, parties, or any time you’re in the mood for a sweet treat. The addition of white chocolate chips makes each bite a delightful experience, ensuring these brownies stand out at any gathering.
Jump to:
- Why You’ll Love This Recipe
- Tools and Preparation
- Essential Tools and Equipment
- Importance of Each Tool
- Ingredients
- For the Brownies
- How to Make Red Velvet Brownies
- Step 1: Preheat the Oven
- Step 2: Combine Ingredients
- Step 3: Fold in Dry Ingredients
- Step 4: Bake the Brownies
- Step 5: Cool and Serve
- How to Serve Red Velvet Brownies
- With Ice Cream
- Topped with Whipped Cream
- Decorated with Fresh Berries
- Drizzled with Ganache
- How to Perfect Red Velvet Brownies
- Best Side Dishes for Red Velvet Brownies
- Common Mistakes to Avoid
- Refrigerator Storage
- Freezing Red Velvet Brownies
- Reheating Red Velvet Brownies
- Frequently Asked Questions
- What makes Red Velvet Brownies different from regular brownies?
- Can I use cocoa powder instead of chocolate?
- How do I know when my Red Velvet Brownies are done?
- Are these brownies suitable for special occasions?
- Can I customize my Red Velvet Brownies?
- Final Thoughts
- 📖 Recipe Card
Why You’ll Love This Recipe
- Decadent Flavor: The combination of cocoa and white chocolate creates a rich taste that satisfies every sweet tooth.
- Visual Appeal: The stunning red hue makes these brownies perfect for special occasions like Valentine’s Day or Christmas.
- Easy to Make: With simple ingredients and straightforward steps, you’ll have these brownies ready in no time.
- Versatile Dessert: Serve them warm with ice cream or enjoy them as is; they fit perfectly into any dessert setting.
- Fudgy Texture: These brownies are wonderfully moist and fudgy, making them irresistible.
Tools and Preparation
Before diving into this delightful recipe, gather your tools to ensure a smooth baking experience.
Essential Tools and Equipment
- 9×9-inch baking pan
- Parchment paper
- Mixing bowls
- Whisk
- Rubber spatula
Importance of Each Tool
- Baking Pan: A 9×9-inch pan ensures even baking and helps create the perfect brownie texture.
- Parchment Paper: Lining your pan with parchment paper allows for easy removal of the brownies after baking.
- Mixing Bowls: Using separate bowls helps keep your ingredients organized and makes mixing easier.
- Rubber Spatula: A rubber spatula is perfect for folding ingredients together without overmixing the batter.
Ingredients
These rich and fudgy Red Velvet Brownies are a dreamy twist on the classic treat, filled with sweet white chocolate chips and a subtle cocoa flavor. They’re soft, moist, and baked to perfection with a vibrant red hue—perfect for holidays, parties, or any time you’re craving a decadent dessert!
For the Brownies
- 12 tablespoons unsalted butter, melted
- 5 tablespoons unsweetened cocoa powder
- ½ teaspoon table salt
- 1¼ cups granulated sugar
- 3 eggs
- ¾ teaspoon vanilla extract
- ¾ teaspoon white vinegar
- 1 cup all-purpose flour
- 10–12 drops Wilton red food coloring (adjust to desired color)
- 1 cup white chocolate chips, divided
How to Make Red Velvet Brownies
Step 1: Preheat the Oven
Preheat your oven to 350°F (175°C). Prepare your 9×9-inch baking pan by lining it with parchment paper and spraying it with nonstick cooking spray.
Step 2: Combine Ingredients
In a large mixing bowl:
1. Whisk together the melted butter, cocoa powder, salt, and sugar until well combined.
2. Add in the eggs, vanilla extract, and vinegar. Mix until smooth.
Step 3: Fold in Dry Ingredients
Gently fold in the flour using a rubber spatula:
1. Before fully mixing in the flour, add 7 drops of red food coloring. Adjust as needed until you reach your desired shade.
2. Carefully fold in ½ cup of white chocolate chips.
Step 4: Bake the Brownies
Pour your brownie batter into the prepared baking pan. Smooth out the top:
1. Sprinkle the remaining ½ cup of white chocolate chips evenly across the surface.
2. Bake in your preheated oven for about 22–25 minutes or until a toothpick inserted into the center comes out with a few moist crumbs.
Step 5: Cool and Serve
Allow the brownies to cool in the pan for at least one hour before slicing them into squares. Enjoy!
How to Serve Red Velvet Brownies
Red Velvet Brownies are not just a delight on their own; they can be further elevated with creative serving ideas. Whether for a special occasion or a casual gathering, these suggestions will make your brownies even more appealing.
With Ice Cream
- Vanilla Ice Cream – A classic pairing that complements the rich flavor of red velvet.
- Cream Cheese Ice Cream – Adds a tangy twist that enhances the brownie’s cocoa notes.
Topped with Whipped Cream
- Sweetened Whipped Cream – Light and fluffy, it adds a soft texture and sweetness.
- Chocolate Whipped Cream – For chocolate lovers, this option will enhance the dessert’s richness.
Decorated with Fresh Berries
- Strawberries – Their tartness balances the sweetness of the brownies.
- Raspberries – A burst of flavor that adds a vibrant color contrast.
Drizzled with Ganache
- White Chocolate Ganache – A smooth and creamy topping that complements the white chocolate chips in the brownies.
- Dark Chocolate Ganache – Rich and decadent, perfect for those who love chocolate.
How to Perfect Red Velvet Brownies
To ensure your Red Velvet Brownies turn out perfectly every time, consider these helpful tips.
- Use Room Temperature Ingredients – This helps create a smoother batter that mixes well.
- Don’t Overmix – Stir just until combined to keep your brownies fudgy and moist.
- Adjust Food Coloring Gradually – Start with fewer drops and add more until achieving your desired hue.
- Check for Doneness Early – Oven temperatures can vary; check your brownies a couple of minutes before the timer goes off.
- Let Them Cool Completely – This step is crucial for clean slices and enhanced flavor development.
Best Side Dishes for Red Velvet Brownies
Pairing side dishes with Red Velvet Brownies can enhance your dessert experience. Here are some delightful options to consider.
- Coffee – The bitterness of coffee balances the sweetness of the brownies beautifully.
- Milkshake – A thick milkshake adds a fun, playful element to your dessert table.
- Fruit Salad – Fresh fruits provide a refreshing contrast to the rich brownies.
- Cheese Platter – Offer a variety of cheeses for an unexpected savory pairing.
- Chocolate-Covered Strawberries – These can mimic flavors in the brownies while adding elegance.
- Nutty Granola Bars – For a crunchy texture contrast, granola bars are great as an accompaniment.
Common Mistakes to Avoid
Baking Red Velvet Brownies can be delightful, but some common mistakes can ruin the experience. Here are a few to watch out for:
- Using too much food coloring: Adding excessive red food coloring can lead to an unnatural taste. Start with fewer drops and gradually increase until you reach your desired hue.
- Overmixing the batter: Overmixing can make your brownies tough. Mix just until the ingredients are combined to keep them soft and fudgy.
- Not measuring ingredients accurately: Inaccurate measurements can affect the texture and flavor. Use standard measuring cups and spoons for best results.
- Skipping the cooling time: Cutting brownies too soon can result in a messy, crumbly texture. Allow them to cool for at least an hour for clean slices.
- Baking at incorrect temperature: An oven that’s too hot or cold can alter baking times. Always preheat your oven correctly and check with an oven thermometer if necessary.
Refrigerator Storage
- Store Red Velvet Brownies in an airtight container for up to 5 days.
- Keep them in the fridge if you want them to last longer.
Freezing Red Velvet Brownies
- Wrap brownies tightly in plastic wrap before placing them in a freezer-safe container.
- They can be frozen for up to 3 months.
Reheating Red Velvet Brownies
- Oven: Preheat the oven to 350°F (175°C) and warm brownies for about 10 minutes.
- Microwave: Heat individual squares on medium power for 15-20 seconds until warm.
- Stovetop: Place brownies in a skillet over low heat, covering them with a lid to retain moisture.
Frequently Asked Questions
What makes Red Velvet Brownies different from regular brownies?
Red Velvet Brownies have a unique red color and subtle cocoa flavor, often enhanced with white chocolate chips, setting them apart from traditional brownies.
Can I use cocoa powder instead of chocolate?
Yes, unsweetened cocoa powder is used in this recipe, providing a rich chocolate flavor without needing melted chocolate.
How do I know when my Red Velvet Brownies are done?
Insert a toothpick into the center; it should come out with a few moist crumbs, indicating they are perfectly baked.
Are these brownies suitable for special occasions?
Absolutely! Their vibrant color makes them ideal for holidays like Valentine’s Day or any festive gathering.
Can I customize my Red Velvet Brownies?
Yes! You can add nuts, different types of chocolate chips, or even cream cheese frosting for a unique twist!
Final Thoughts
These Red Velvet Brownies are not only rich and fudgy but also versatile enough for any occasion. Whether you’re celebrating or just indulging yourself, they’re sure to impress. Feel free to customize them with your favorite toppings or mix-ins!
Did You Enjoy Making This Recipe? Please rate this recipe with ⭐⭐⭐⭐⭐ or leave a comment.
📖 Recipe Card
Print
Red Velvet Brownies
- Total Time: 40 minutes
- Yield: Makes about 16 servings 1x
Description
Indulge in the delightful world of Red Velvet Brownies, where rich cocoa flavor meets vibrant red color and sweet white chocolate chips. These fudgy treats are perfect for any celebration, from Valentine’s Day to holiday gatherings. Their moist texture and stunning appearance make them a show-stopping dessert that will impress friends and family alike. Easy to make with simple ingredients, this recipe ensures you can whip up a batch quickly whenever the craving hits. Whether served warm with a scoop of ice cream or enjoyed as they are, these brownies are sure to satisfy your sweet tooth.
Ingredients
- 12 tablespoons unsalted butter
- 5 tablespoons unsweetened cocoa powder
- 1¼ cups granulated sugar
- 3 eggs
- ½ teaspoon table salt
- ¾ teaspoon vanilla extract
- ¾ teaspoon white vinegar
- 1 cup all-purpose flour
- 10–12 drops red food coloring
- 1 cup white chocolate chips
Instructions
- Preheat your oven to 350°F (175°C). Line a 9×9-inch baking pan with parchment paper and spray with nonstick cooking spray.
- In a large bowl, whisk melted butter, cocoa powder, salt, and sugar until combined. Add eggs, vanilla extract, and vinegar; mix until smooth.
- Gently fold in flour and red food coloring until just combined. Fold in half of the white chocolate chips.
- Pour batter into the prepared pan, smooth the top, and sprinkle remaining white chocolate chips on top.
- Bake for 22-25 minutes or until a toothpick inserted in the center comes out with a few moist crumbs. Allow cooling before slicing.
- Prep Time: 15 minutes
- Cook Time: 25 minutes
- Category: Dessert
- Method: Baking
- Cuisine: American
Nutrition
- Serving Size: 1 brownie (40g)
- Calories: 180
- Sugar: 16g
- Sodium: 120mg
- Fat: 8g
- Saturated Fat: 5g
- Unsaturated Fat: 2g
- Trans Fat: 0g
- Carbohydrates: 24g
- Fiber: 1g
- Protein: 2g
- Cholesterol: 35mg
